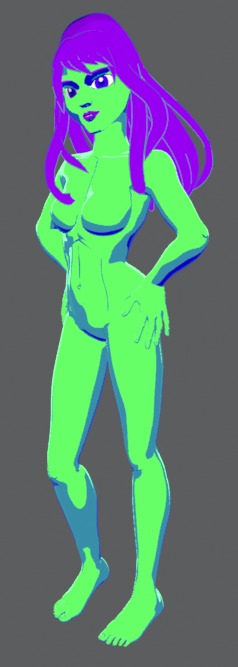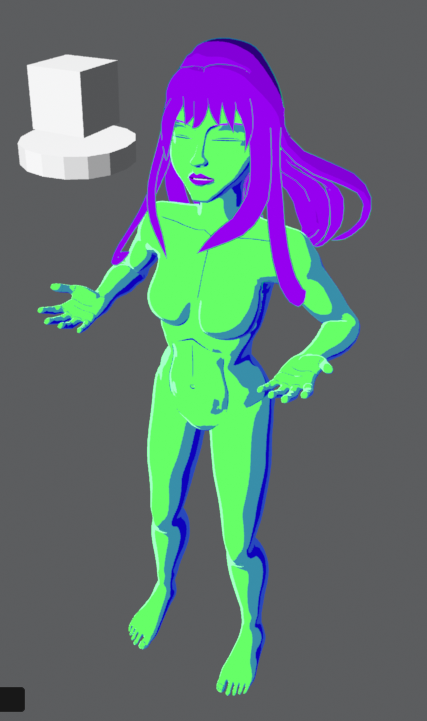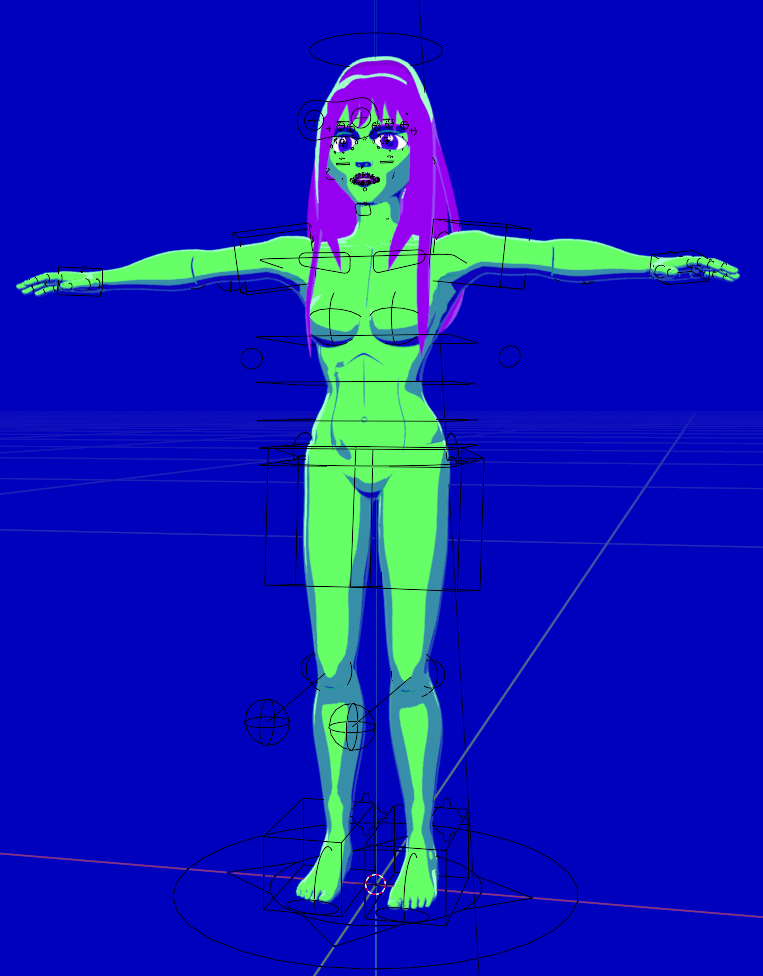
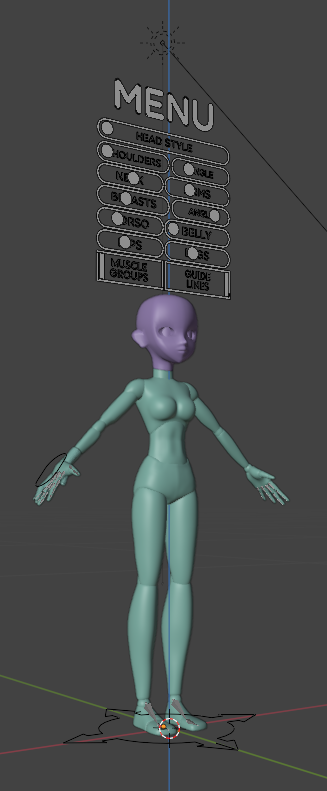
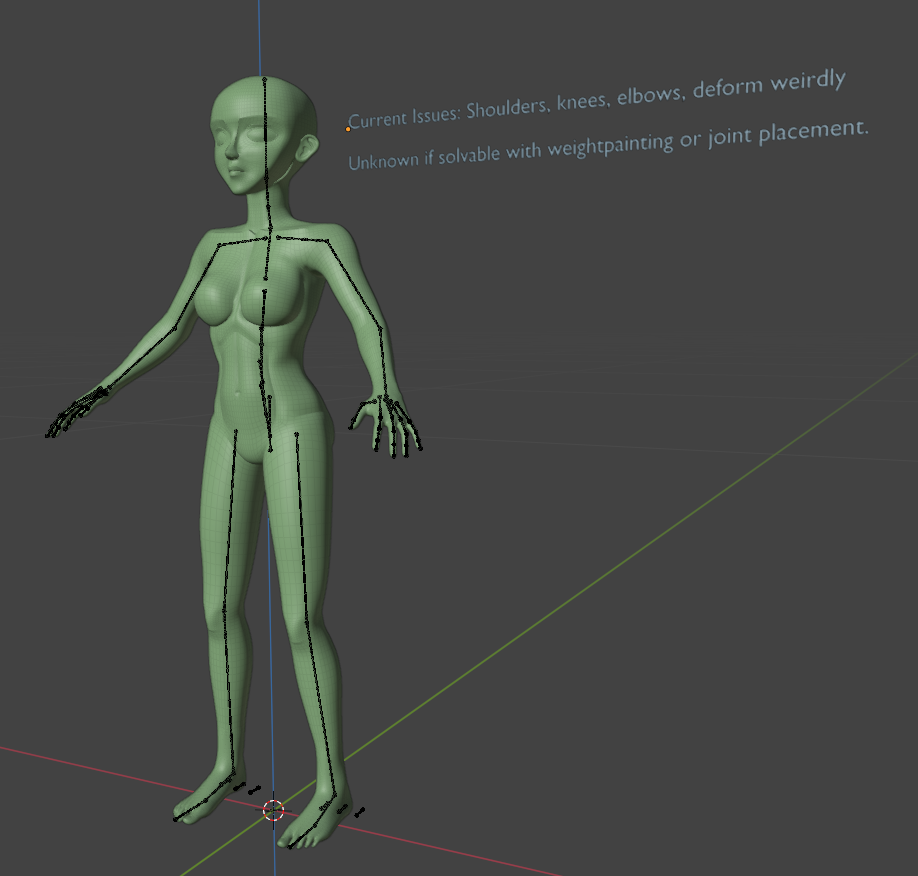
The Process of Creation
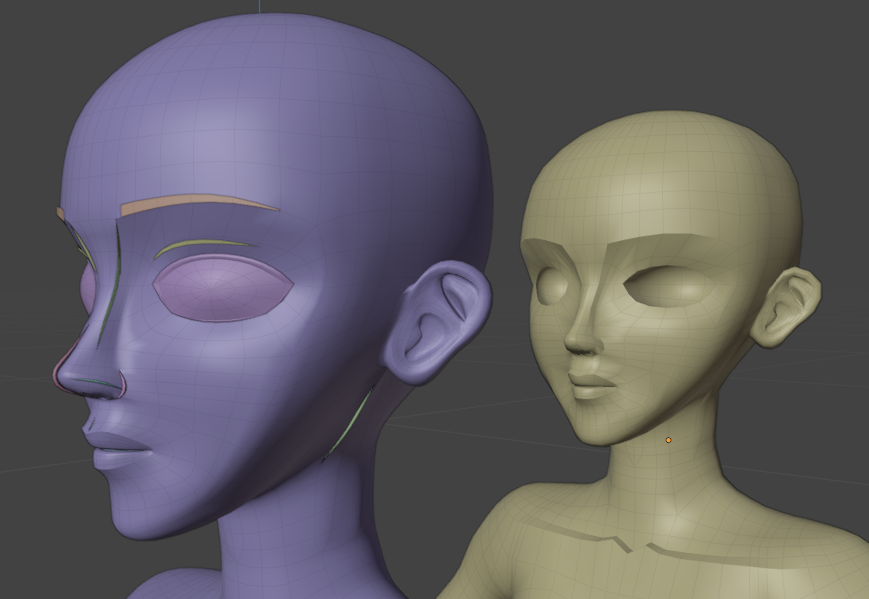
The Eyeballs
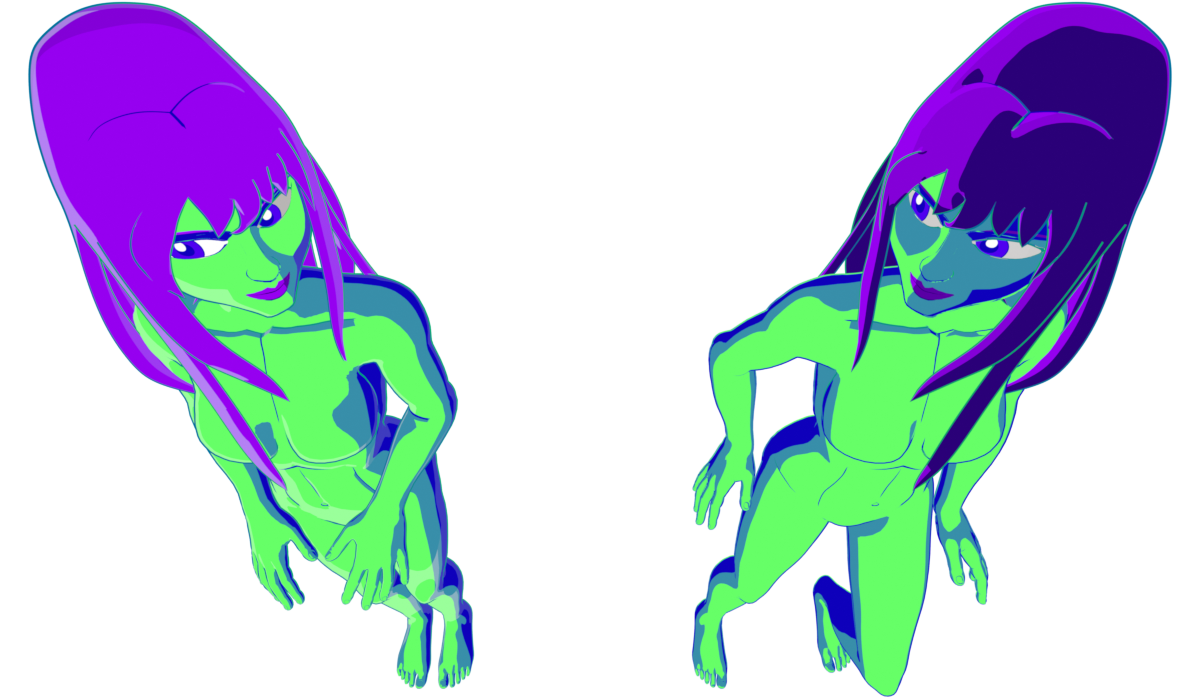
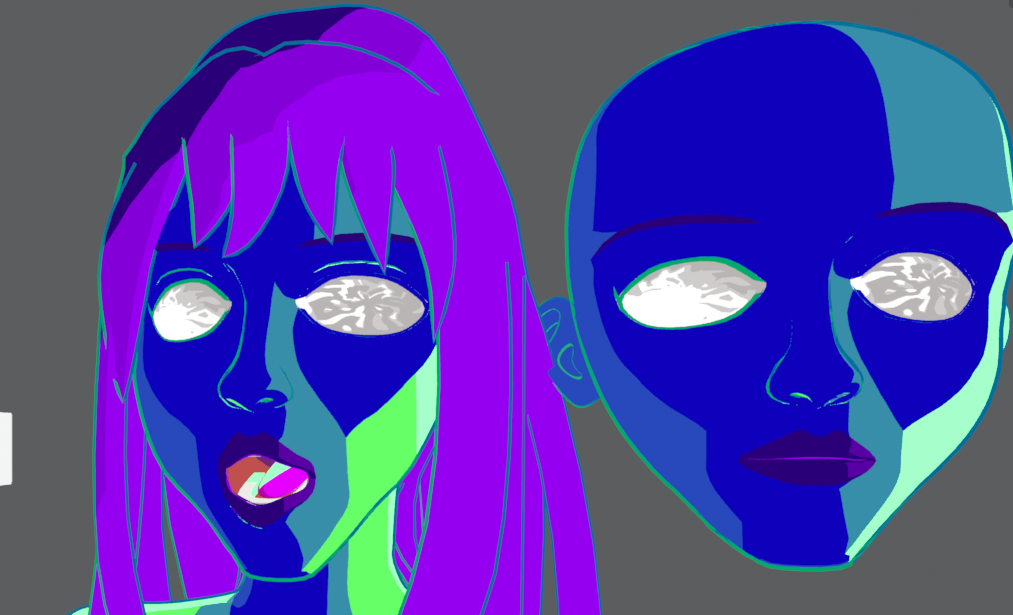
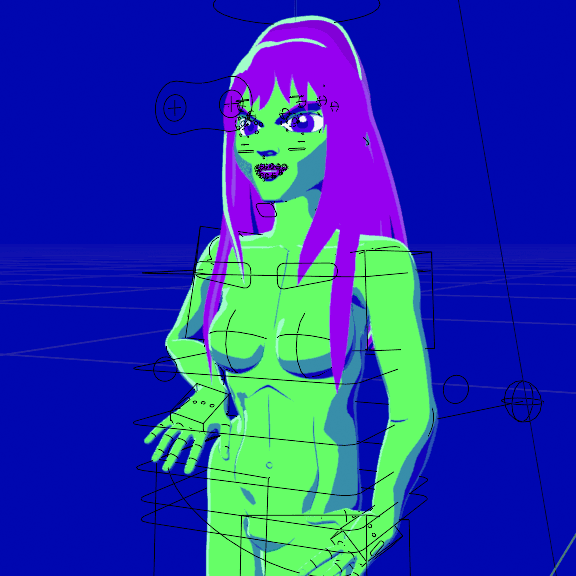
The Eyeballs aren't actually balls, rather holes with something resembling pupils inside of them. This allows for a more flexible and controllable pupil opposed to a textured sphere, which doesn't aid in hiding the 3D look. I may not be the first to discover this, but I learned of a way to add depth to the eyes using this method.
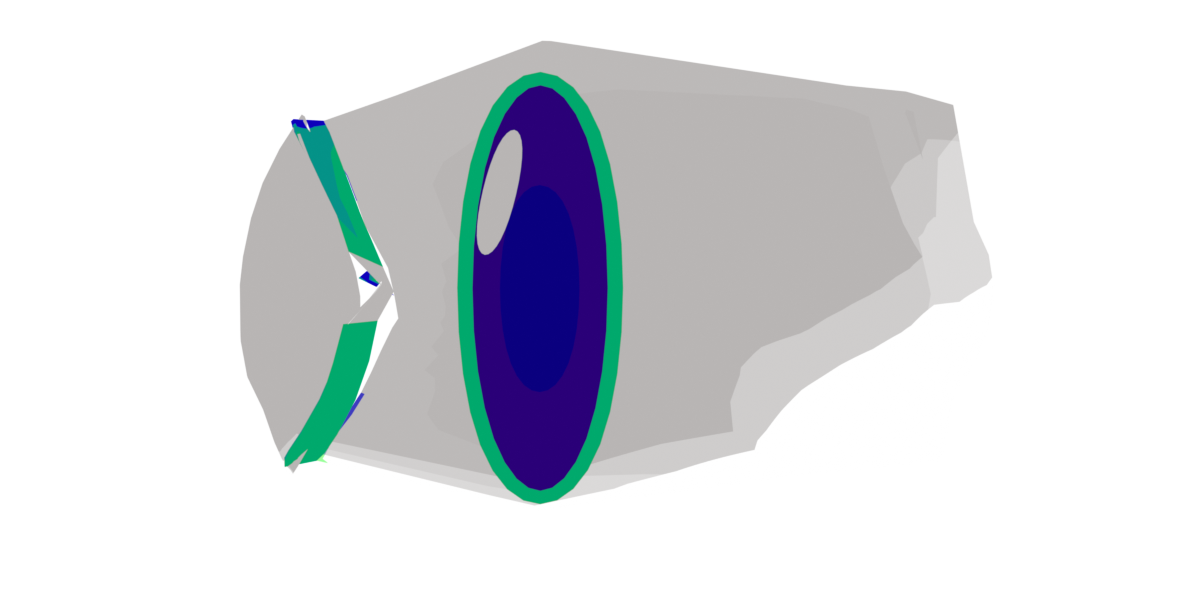
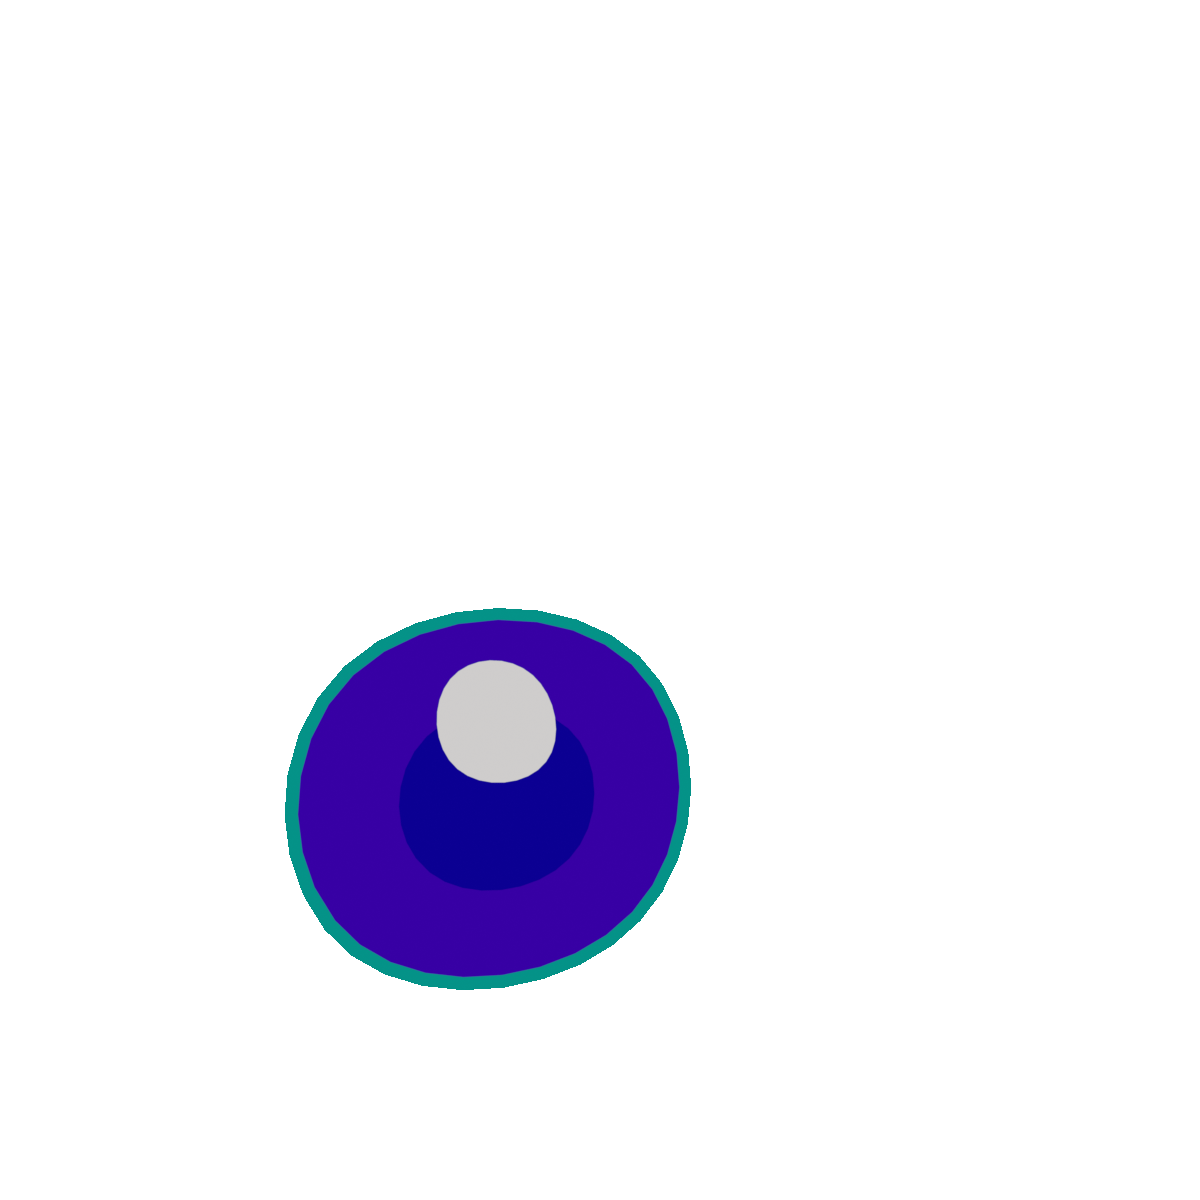
The Lens of the eyes should be transparent when looking at it, but fully opaque when inside of the eyehole. I achieve through backface culling and inverting the normals of the faces that are on the lens. Allowing for the eyes to pop out. The Pupil is made up of 4 flattened spheres. All but the pupillary aperture and the eye shine have backface culling enabled.


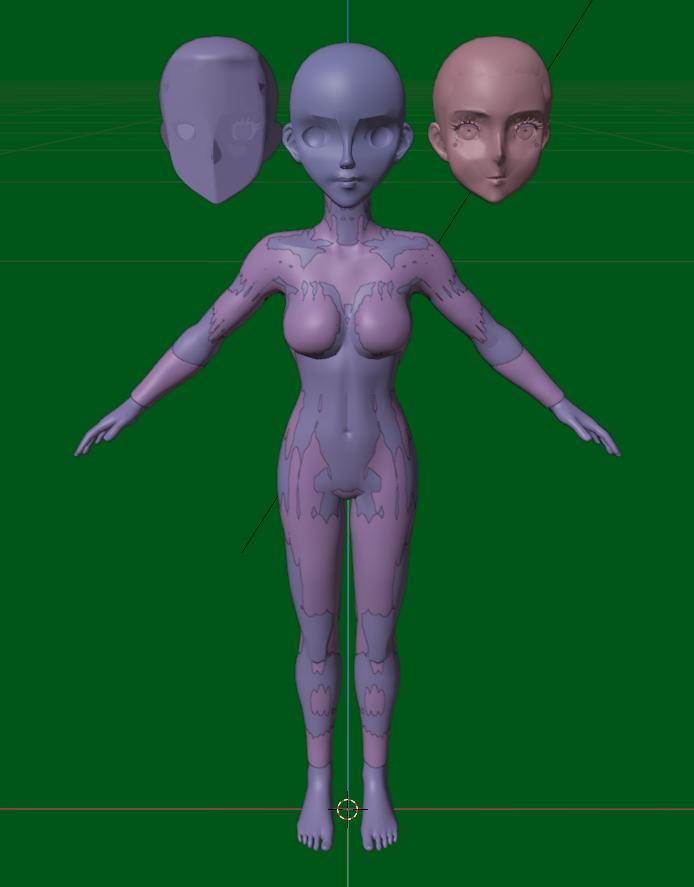
UV Mappings
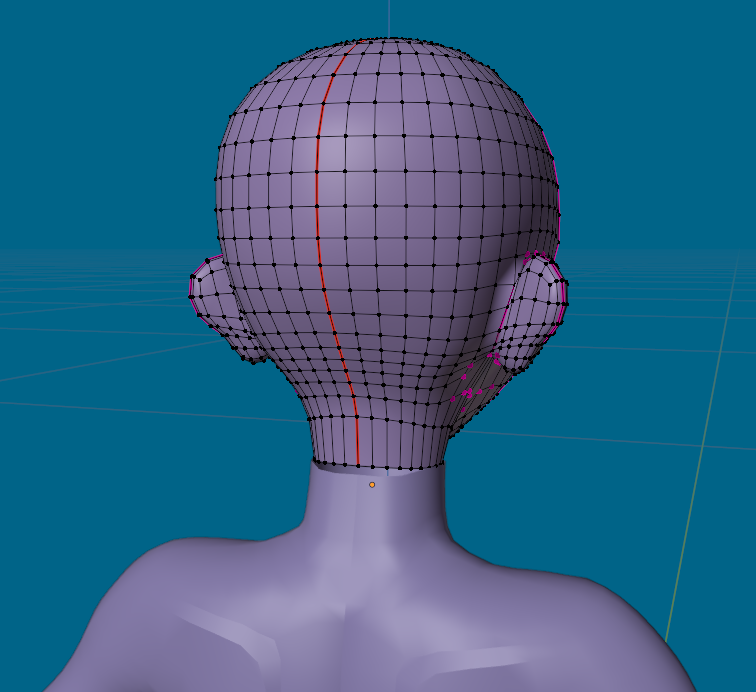
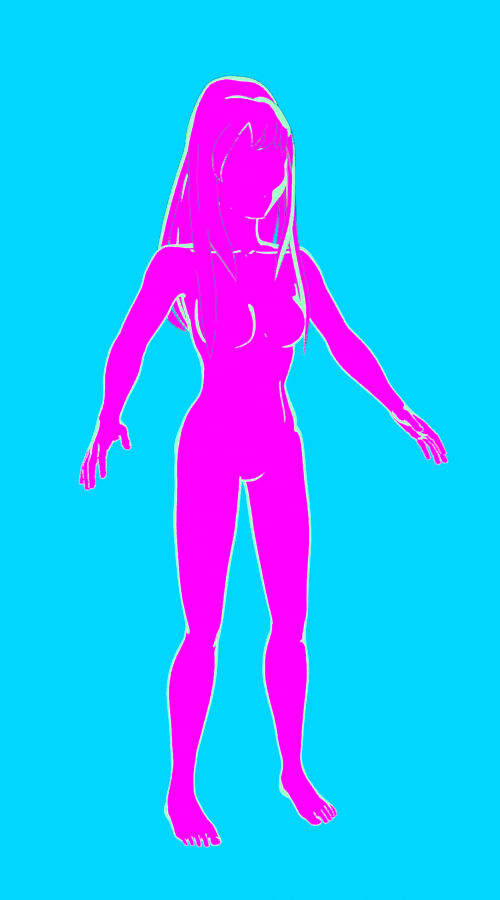
In order to make the Textured Lines look as sharp as can be, you have to make it align with a flattened UV. This allows you to use textures without an unreasonably high resolution. A method I also used required editing model topology. Cutting in the lines you want on your model, and making sure every vertice for its UVs was within a color. I wouldn't use this method anymore in the future, as it's prone to problems from rigging and texturing inside of Blender or in other engines.
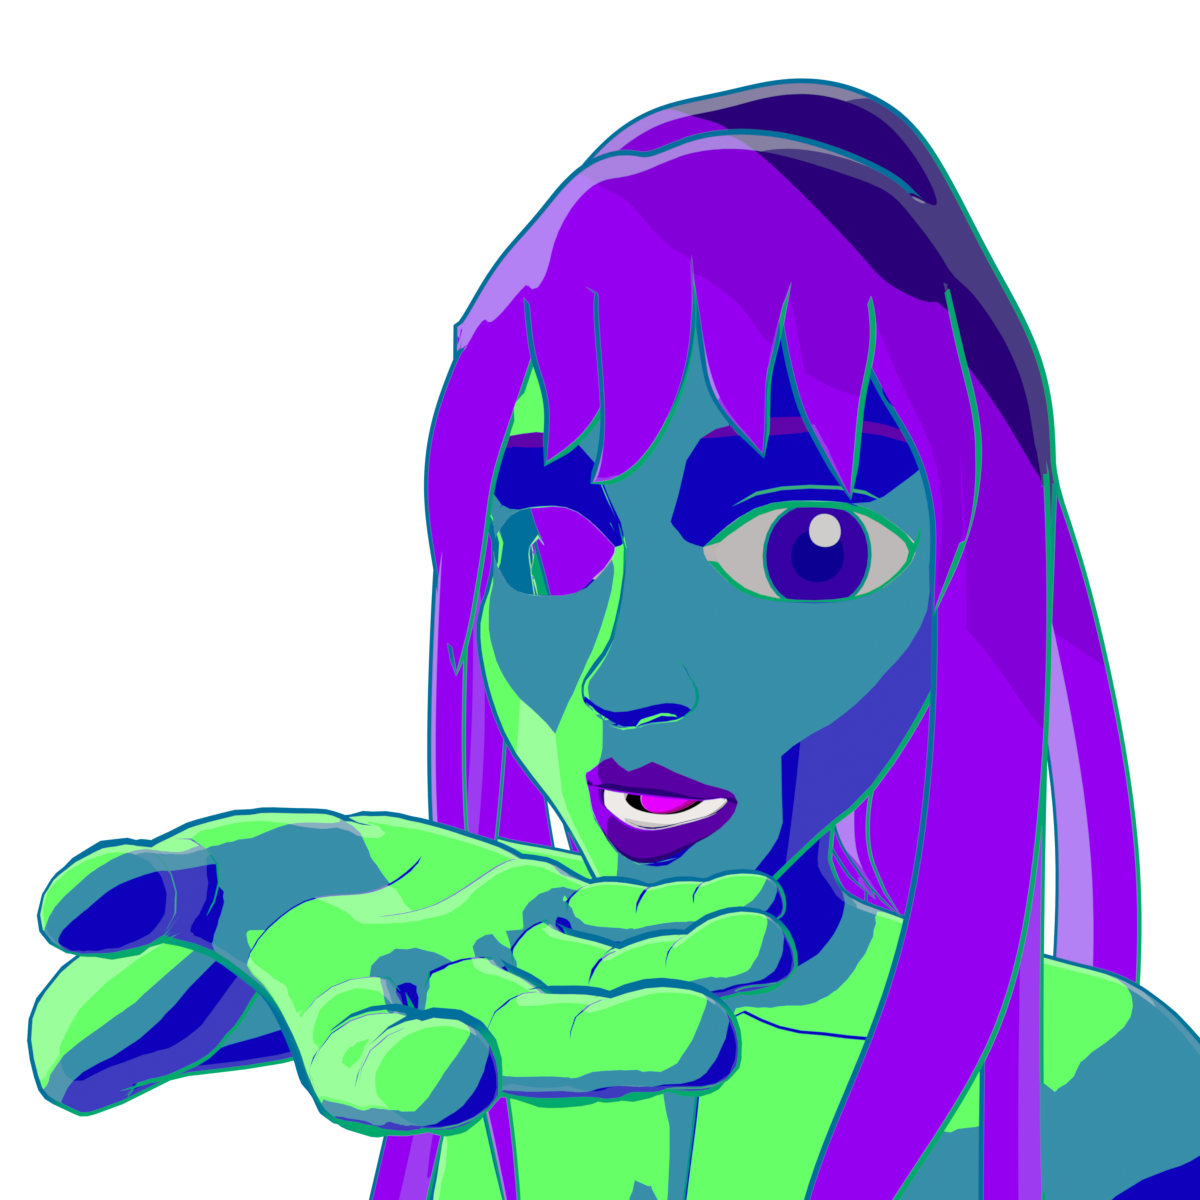
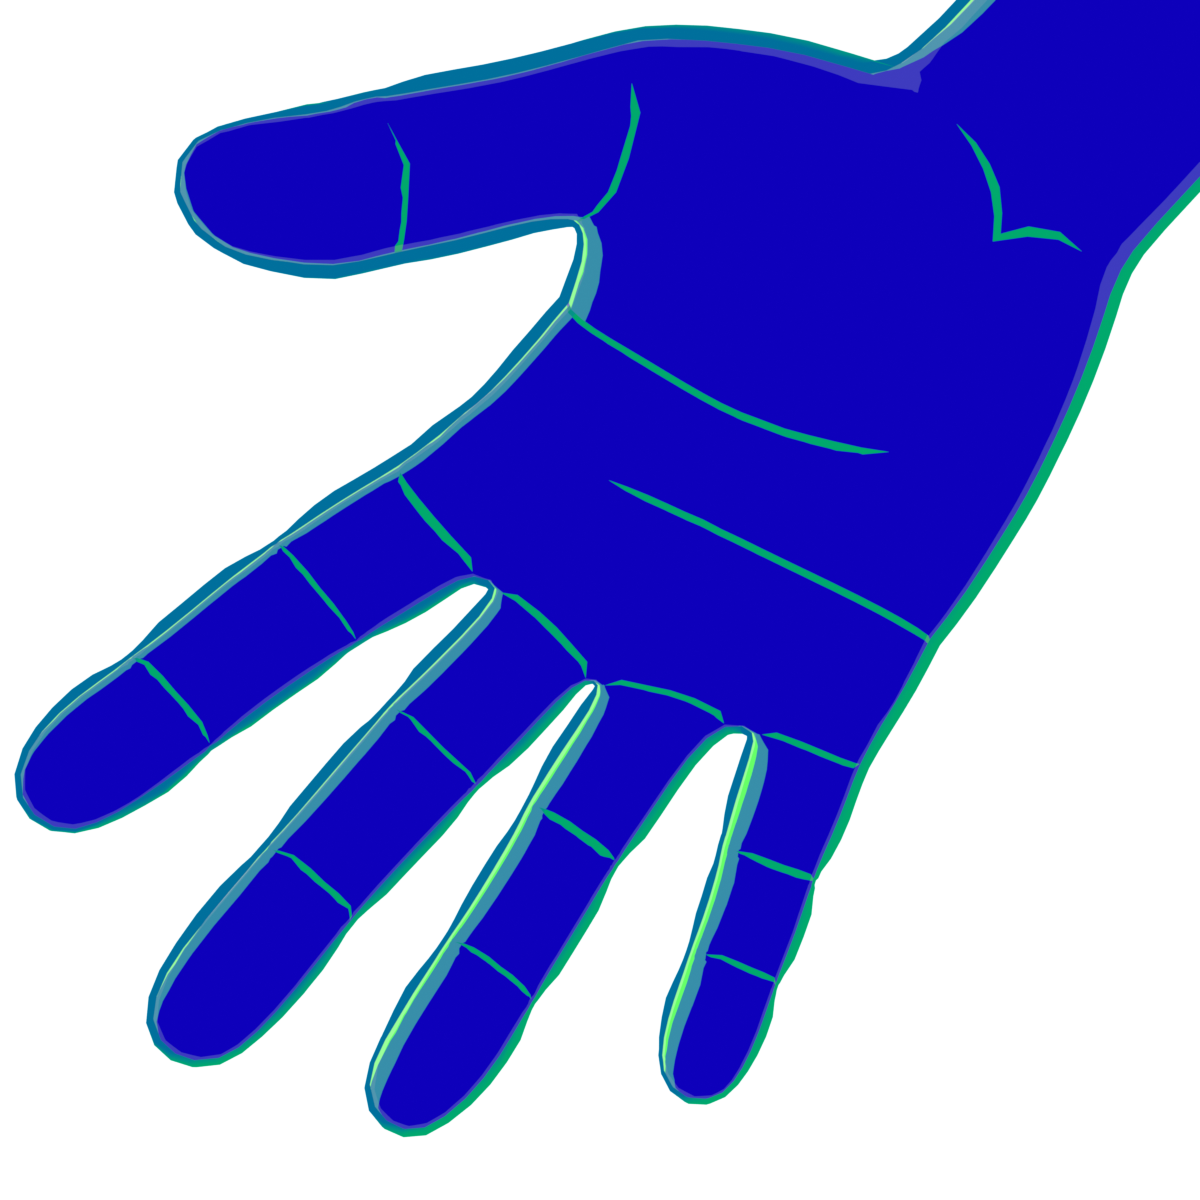
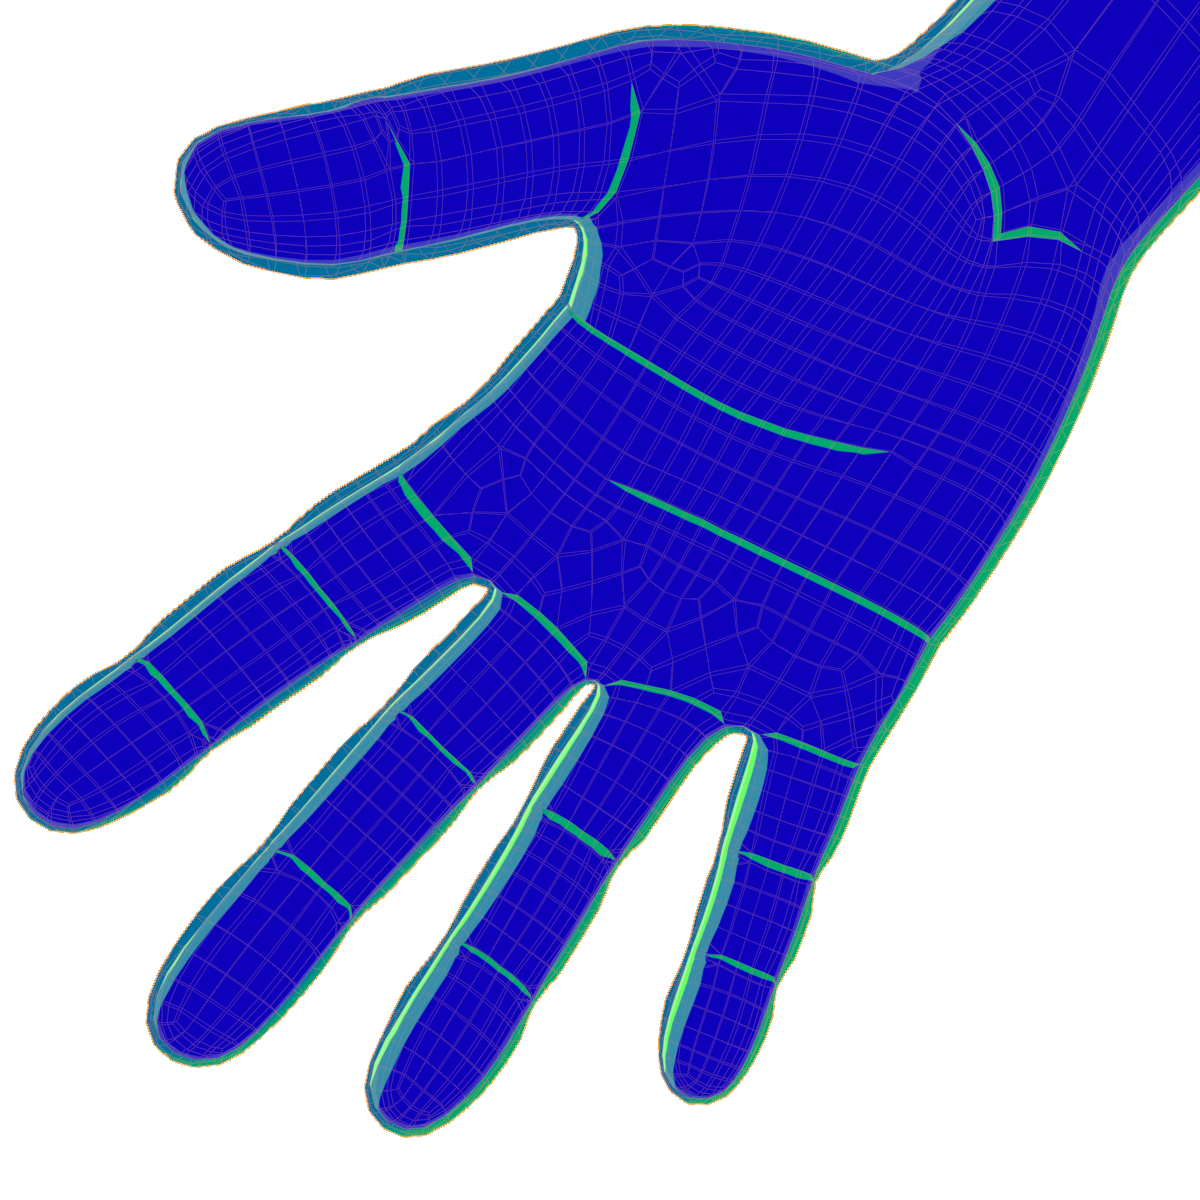
Hand Example
Hover over the hand to the right. You'll see it's wireframe. That wireframe bends all over the place, however, the UV is flat. But you'll notice on the bottom left I make an exception. This is in order to ensure that the lines are sharp once they're ending. Lines that don't do this can look awkward even on a drawing, so it's important to ensure the ends of lines are sharp or triangular. And I do this in the UV's by moving those vertices outside of this green zone, as those are the colors of the lines. The outside is blue, color of the skin. (The process is inverted for the lit texture)

Refinement of the Shaders
A simple Cel Shader works, but I wanted more. As there's more than two tone shading when it comes to cartoons or anime. And what I've settled with now was rim lights and shadow smoothening.
To use RimLights, make use of the Layer weight node, as it ensures no matter what angle you view the model from, a RimLight will appear towards the edges of your model, assuming its normals aren't edited. I believe
this same process can be used to create outlines without using the Inverted Hull method. As for smoothening shadows, you must use a texture coordinate node, mix the UV and the Object. Get the vector and make the other drop down menu uniform. However you adjust the Factor determines how smooth the shadow will become.